There is a quiet, slightly uncomfortable hour that happens when you start a balcony garden for the first time. You stand on the balcony with two empty pots, a bag of compost, and the dawning realisation that no one has told you which way the sun moves across this particular slab of concrete. It is a small panic, and it is universal. Every single person who has tried to grow food in a small outdoor space has stood in that hour.
This guide is the conversation we wish someone had walked us through on that first afternoon. It assumes nothing. It does not promise that you will grow your dinner by August. What it does promise is that by the end of an unhurried weekend, you will have one or two pots producing something edible, a clear sense of how much sun your balcony actually gets, and a setup that will not collapse the moment you go away for a week in July.
The aim is not yield. The aim is a small, repeatable habit that gives you a sense of what works on your particular balcony, in your particular climate, with your particular hours of light. Yield comes later, naturally, once you stop fighting the space.
Spend a day reading your balcony before you buy anything
Before any compost arrives, sit out with a coffee at 8am, 10am, noon, 2pm and 4pm, and write down where the direct sun hits the floor and the railing. A south-facing balcony in midsummer may receive five or six straight hours; an east-facing one might give you a fast three hours of morning sun and then nothing useful all afternoon. A north-facing balcony in the northern hemisphere is for shade-tolerant herbs and salad greens, and pretending otherwise is the most common first-year mistake.
Note the wind too. High-rise balconies catch dry wind that desiccates pots faster than the same plants kept at ground level. If your washing on the rack twists sideways, your basil will not enjoy that spot.
Start with two pots, not ten
We have lost count of the number of balconies we have visited where a hopeful new gardener has bought twelve pots in the first week, planted them all, and watered six of them to death by month’s end. Two pots is enough. One herb pot, one larger vegetable pot. You can always add more once you have learned the rhythm of your watering.
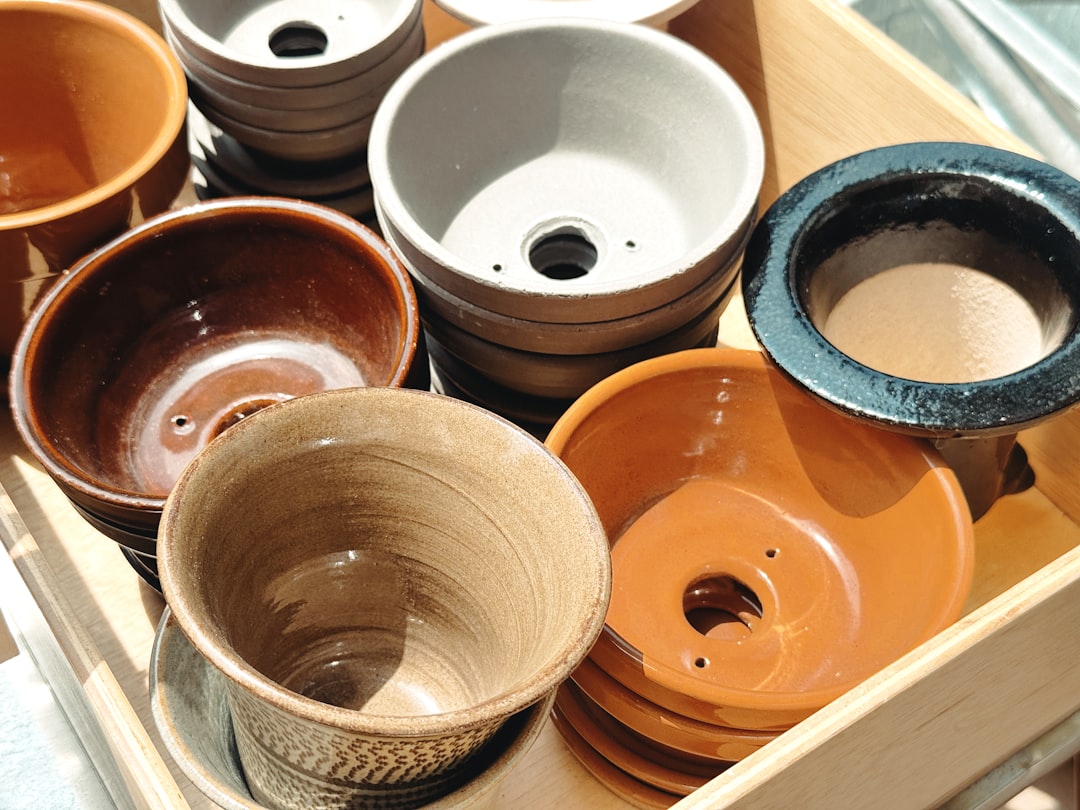
- A 25 to 30 cm wide herb pot for two or three herbs you actually use in cooking, not the ones with the prettiest tags.
- A 35 to 45 cm wide deep pot for one substantial vegetable: a bush tomato, a chilli, or a few salad leaves.
- One saucer for each pot, to catch drainage and protect the floor below your balcony.
If the balcony is shaded for most of the day, swap the vegetable pot for a salad-leaf trough. Lettuce, rocket, mizuna and many Asian greens will produce for weeks on dappled light.
Buy soil, not garden soil
Garden soil is not pot soil. A bag of cheap garden soil compacts in a pot within weeks and starves the roots of air. Look for a bag labelled “potting mix” or “container compost”. For edibles, choose one with a small amount of slow-release organic fertiliser already mixed in, or add a handful of worm castings to each pot before planting.
Avoid moisture-retaining gels and heavily peat-based mixes. The first sounds clever and tends to drown plants; the second is environmentally questionable and dries to brick when allowed to fully dry out once.
Watering is the first real skill you learn
Most balcony plants die of either thirst or drowning, and the difference comes down to attention rather than equipment. The simplest rule is this: push a finger one knuckle deep into the soil. If it is dry at the knuckle, water until water runs out the drainage holes. If it is still cool and damp, leave it.
In high summer this might mean once a day. In April it might mean twice a week. Pretty automatic watering systems are tempting but unnecessary in the first season. The finger test is more useful than any timer because it teaches you what each pot feels like at the limit.
Three forgiving crops for a first balcony
Salad leaves (cut-and-come-again)
Sow a pinch of mixed-leaf seed onto fresh compost, cover with half a centimetre, water lightly with a fine rose, and you will be picking small salads within five weeks. Trim with scissors above the lowest pair of leaves and the plant will grow back two or three more cuts before it bolts.
Chillies or compact tomatoes
If you have four hours or more of direct sun, a bush tomato such as Tumbling Tom or a small chilli will reward you with a handful of fruit each week from late summer. Keep them in the largest pot you can comfortably accommodate, and stake them early before they need it.
Soft herbs (basil, parsley, chives)
Plant one variety per pot rather than mixing them. Each has different watering needs and they squabble in shared containers. Pinch out the tops of basil every week to keep it bushy, and let chives flower because their lilac heads are edible and bring pollinators to the rest of your balcony.
What we wish we had known on day one
Balcony gardening is closer to keeping a houseplant than to traditional gardening. Light is uneven, watering is more frequent than in the ground, and a hot afternoon in July can stress a pot beyond repair if you are away for the weekend. None of this is a reason not to start. It just means you treat each pot as a small living thing you are responsible for, rather than a patch of soil that will manage itself.
The first season is rarely the great success story. The second is often better. The third is when you stop second-guessing yourself and start enjoying it.
A small balcony with two tidy, productive pots beats a large one with twelve neglected ones every time.
Further reading
Two authoritative resources we recommend if you want to go deeper on this topic:
Frequently asked questions