A wool blanket with a small moth hole is not ruined. It is a wool blanket with a small moth hole. The instinct to hide the hole with invisible mending (matching yarn, reweaving each thread) makes sense on a nearly-new piece; it is much less appropriate on a blanket that already has forty years of life in it, where the visible history is part of the object.
Visible mending is what it says: a repair you do not try to hide. Done well it becomes a small piece of textile history sewn into the blanket, and the blanket becomes something you keep rather than replace. Two stitches will do 90 percent of what you need.
What you need before you start
- Wool darning yarn in a colour that either matches (subtle) or contrasts (bold). Around £3 for a small skein at any craft shop. Pure wool is best; blends work.
- A darning needle with a large eye and a blunt point (blunt so it slides between wool fibres rather than piercing them). About £2 for a set.
- Small embroidery scissors for trimming ends. Nail scissors work.
- An embroidery hoop, mushroom darner, or (working substitute) a light bulb to hold the fabric taut. £3-£10 for a small hoop.
- Optional: a small piece of scrap wool jersey or an old wool sock in a compatible weight, if the hole is larger than a fingernail.
Assess the hole
Look at the fabric around the hole. Three questions:
- Is the edge stable, or does the wool feel weak and fluffy around it? If fluffy, moth damage is likely still active or recent; wash the whole blanket in a wool-safe way first to kill any remaining larvae.
- Is the hole a clean puncture (small, defined edges) or a thinning (an area where the wool has worn very thin without a distinct hole)? Different techniques.
- Is the surrounding fabric felted (dense, matted) or open weave (you can see through it)? Denser fabric is easier to work into.
Stitch one: Sashiko-inspired running stitch for reinforcement
For thin patches (worn areas not yet a hole, or hole edges you want to prevent from spreading), running stitch reinforces the whole area.
- Place the fabric in a hoop, thin area centred and taut but not stretched.
- Thread the needle with about 40 cm of darning yarn. Do not knot the end; leave a 3 cm tail on the back.
- Starting about 1 cm outside the thin area, work small even running stitches (about 3 mm long on the front, 3 mm gap) in parallel rows, roughly 5 mm apart.
- Cover the whole thin area with several parallel rows. Change direction if you want to make a grid.
- To finish, weave the yarn back through the stitches on the back for about 3 cm, then trim.
The visual effect is a soft grid or plaid over the thin area. Traditional Japanese Sashiko uses white cotton on indigo cloth; on a beige wool blanket, a strong dark blue or brick red darning yarn works beautifully. Match to your blanket’s period and mood.
Stitch two: darning stitch across a hole
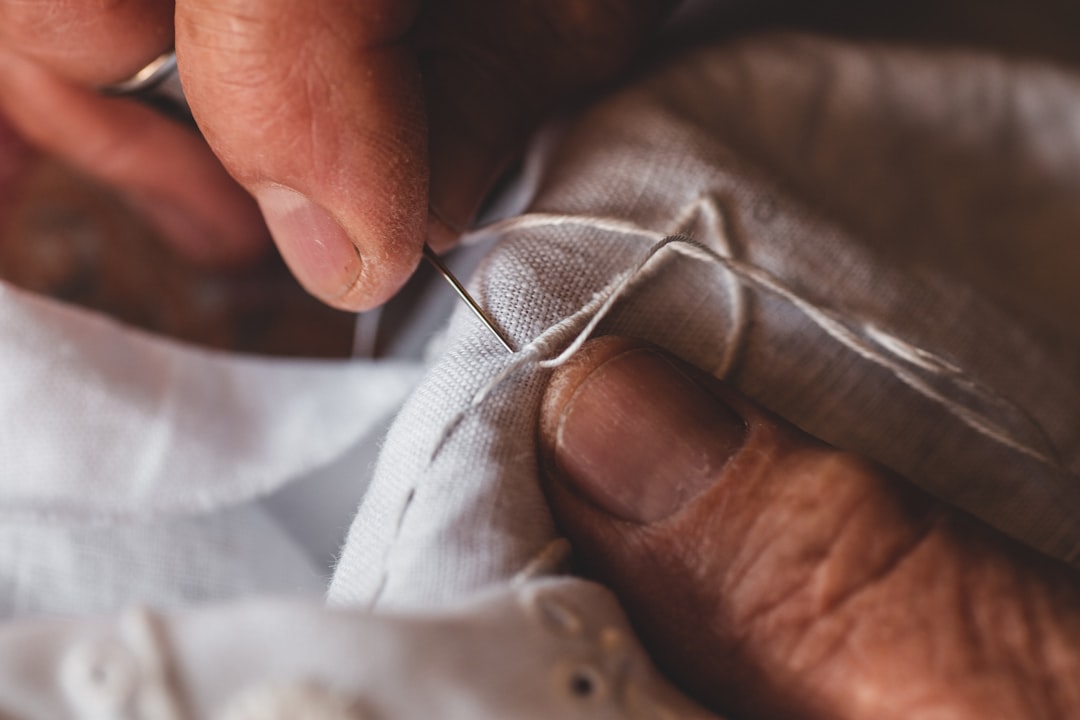
For an actual hole (up to about 3 cm across), classic darning fills the hole with a woven repair. The technique is essentially weaving a small patch of fabric across the hole:
- Hoop the fabric with the hole centred.
- Working from the back, start about 1 cm outside the hole. Make a row of running stitches straight across the hole and out the other side, spanning the hole with straight lengths of yarn.
- Repeat parallel rows about 2 mm apart until the hole is covered with parallel warp threads.
- Now weave the second direction: needle over-under-over-under across the parallel yarns, going perpendicular. Row by row until the hole is fully covered with a small woven patch.
- Weave the tail into the back of surrounding fabric, trim.
Done well, the darn is a small rectangle of woven yarn sitting inside the blanket, holding its edges together. If your contrast colour is bold, it becomes decorative. If subtle, it disappears from arm’s length.
For larger holes: patch first, then darn edges
For holes larger than 3 cm, add a small backing patch of wool jersey or an old wool sock fabric to the back of the blanket, whip-stitched around the edges. Then darn (Stitch 2) across the hole surface. The backing gives the darning something to attach to and prevents the hole from stretching further.
Care after the repair
Handwash in cold water with wool-safe detergent (Ecover, Method wool, or a small drop of hair shampoo). Never machine wash a repaired wool blanket; the agitation stresses the darn and can cause felting around the repair edge.
To prevent future moth damage, store off-season in a sealed cotton bag with a small sachet of cedar shavings or dried lavender. Wool moths lay eggs on unwashed wool; washing before storage is the single most important prevention.
Why this is worth doing
A pure wool blanket costs £120-£250 to replace. A moth hole repair takes 30-45 minutes and £3 in materials. On any blanket you would replace rather than bin, the mending is worth doing purely on cost. Beyond cost, the repaired blanket has a small visible mark of its own history, and every subsequent user asks about the coloured patch and hears the small story.
Textile waste is not a small issue. The EPA estimates 11 million tonnes of textile waste per year in the US alone, most of it wool and cotton that could have had another decade of life if minor damage had been repaired rather than triggering replacement. Visible mending is not an aesthetic; it is a small, useful act.
Further reading
Two authoritative resources we recommend if you want to go deeper on this topic:
Frequently asked questions