Leaf mould is the quiet hero of soil improvement. It is what you get when you let autumn leaves rot down on their own over 12-24 months. The result is a crumbly, dark, weed-free amendment that adds structure and water retention to any soil. It costs nothing, requires no maintenance, and rewards patience.
This guide explains the workflow, the small mistakes that slow it down, and what to do with the finished product.
How leaf mould differs from compost
Compost is broken down by bacteria, fast and hot. Leaf mould is broken down by fungi, slow and cool. The end result is structurally different: compost is nutrient-rich, leaf mould is structurally excellent for soil but lower in nutrients.
Gathering leaves
- Best months: October through December in temperate climates.
- Best leaves: oak, beech, hornbeam, maple, ash.
- Avoid: heavy waxy leaves like holly, magnolia, walnut.
- Shredding leaves (run a mower over them) speeds decomposition by half.
Where to put them
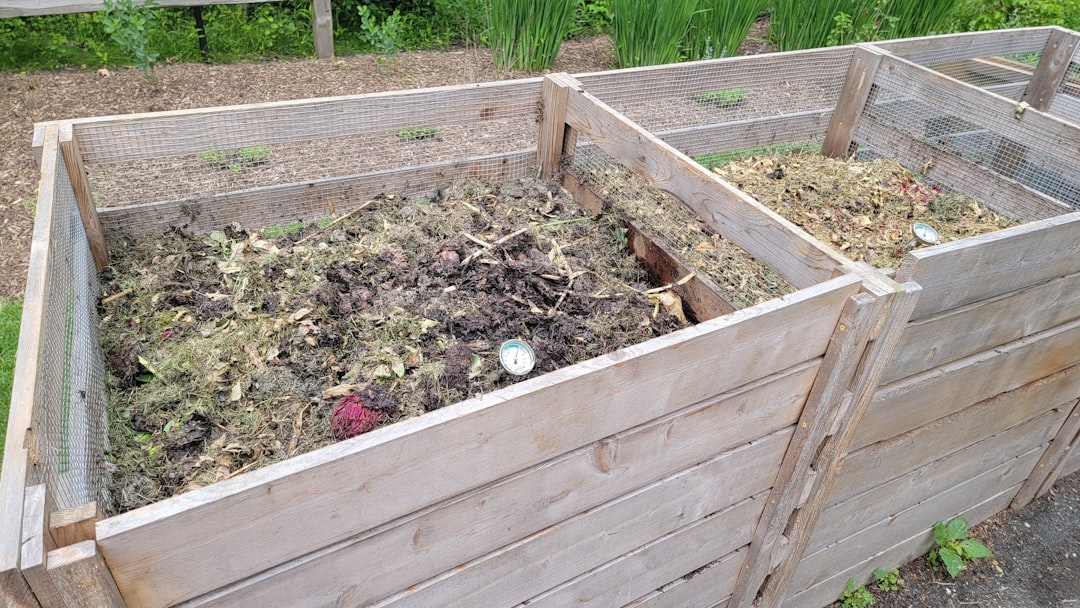
Wire-cage stack
Four wooden posts in a square, with chicken wire stapled around. Pile leaves inside.
Bin bag method
Black bin bags pierced with small holes, half-filled with damp leaves, tied and left in a corner. Good for small yards.
Wooden bay
Similar to a compost bay; 1 m³ enclosed corner.
The waiting
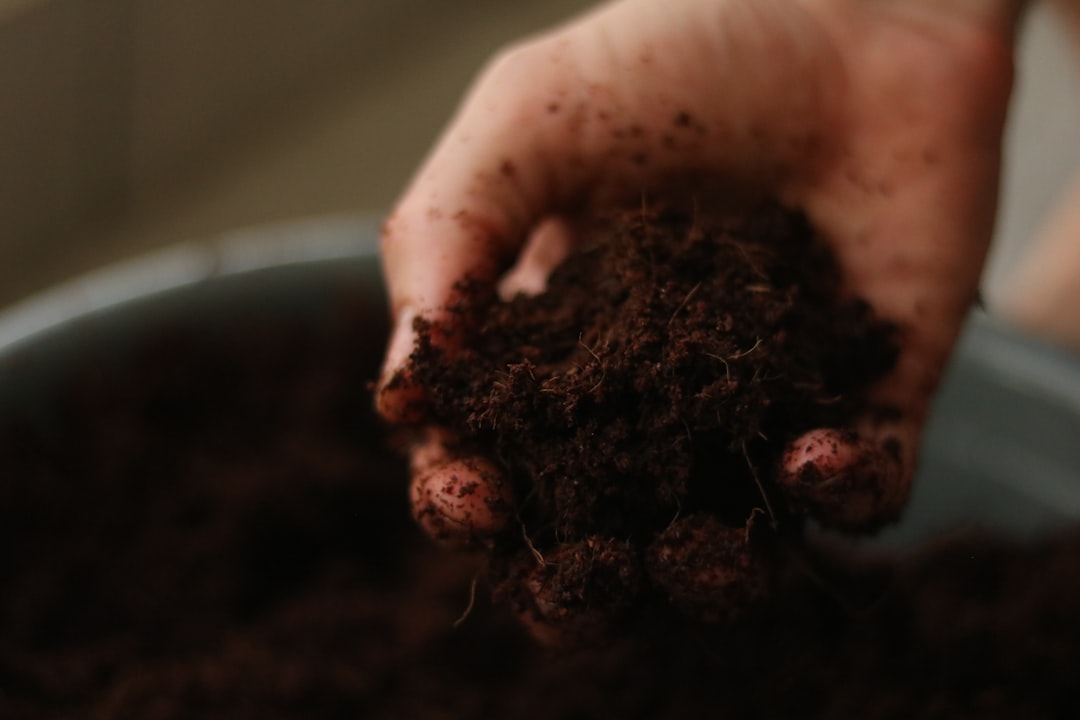
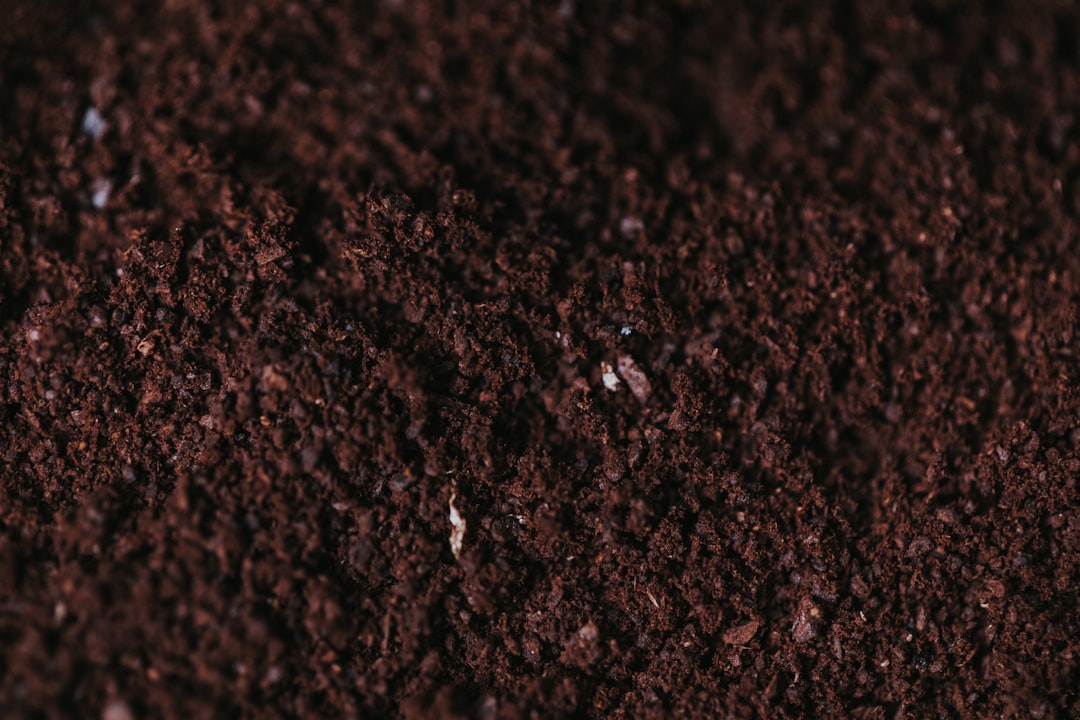
Leaf mould takes 12-24 months. The first six months produce a rough, semi-broken-down material. By 12 months it is usable as a soil conditioner. By 24 months it is fine and crumbly, suitable as a seed compost ingredient.
Common mistakes
- Letting the pile dry out completely (decomposition stalls).
- Mixing leaves with green material (turns it into compost, not leaf mould).
- Locating in deep shade with no airflow (waterlogged, anaerobic).
- Removing the pile after only six months (rough material, not yet useful).
How to use leaf mould
- Mulch around vegetables (2-3 cm layer, top up annually).
- Topdressing on raised beds.
- Component of potting mix (up to 30% by volume).
- Soil improver for new beds.
- Mulch around fruit trees.
Building a yearly cycle
If you have space, start a new pile each autumn. By year three you have one pile finishing, one halfway, and one fresh. The rotation gives you a continuous supply of soil improver without ever buying it.
Further reading
Two authoritative resources we recommend if you want to go deeper on this topic:
Frequently asked questions