It is easy to overspend on a first apartment garden. Glossy gardening magazines and tidy hardware-store displays make it look as if a productive setup needs hundreds of pounds of bespoke planters, decorative trellises and branded soil bags. It does not. A first food-growing setup on an apartment balcony or windowsill can be built for under a hundred dollars and produce real food the same season.
This guide is a practical, slightly cheap walkthrough of what to buy first, what to skip, what to find secondhand, and where to spend the slightly larger sums that actually matter.
What to buy first (priority order)
- Two pots in the 25-35 cm width range with drainage holes.
- One bag of decent container soil mix, around 40 litres.
- A 5 litre watering can with a fine rose.
- Small bag of slow-release organic fertiliser (or a bottle of liquid seaweed feed).
- Three or four young plants from a local nursery or supermarket.
Total, in our most recent run, came to $58. Notice that almost nothing on this list is fancy. The single most important upgrade is buying soil mix rather than the cheap general-purpose compost the same shop will try to sell you.
What to skip in year one
- Self-watering pots with reservoir systems (expensive, unnecessary in your first season).
- Decorative cedar planters from interiors shops (look beautiful, cost five times more than a plastic pot, no better for plants).
- Hydroponic kits (great in their own right, not the right place to start).
- Specialty branded fertilisers and root stimulants.
- Aesthetic trellises before you know whether you actually need a vertical structure.
Where secondhand wins
Most people who give up gardening do so after one season. Their kit ends up in classified ads, charity shops and community swap groups. Look for:
- Pots: often free or nearly so. Wash and reuse.
- Watering cans: rarely worn out. A used metal can is often better than a new plastic one.
- Trellises and stakes: garden centres mark up plain bamboo by absurd amounts. Find them used or improvise from broom handles.
- Hand tools: a used trowel and pair of secateurs that have lasted twenty years will outlast a new set bought today.
Where to spend slightly more
If you are stretching the budget, spend the extra on:
- Soil. The difference between cheap and decent is the difference between a frustrating and a forgiving season.
- Plant selection. A healthy young plant from a local nursery beats a sale-bin specimen by a lot.
- Watering equipment. A heavy metal watering can with a decent rose will last forever and water more gently than a cheap plastic one.
A realistic first-season yield
With the $58 budget above, in a sunny corner of a small apartment balcony, a reasonable first-year haul is:
- Salad leaves to harvest twice a week for around six weeks.
- 2-3 kg of cherry tomatoes from a single bush variety, spread across mid to late summer.
- Enough fresh basil to flavour weekly pasta dishes through July and August.
- A small but useful supply of chives, parsley and mint, more or less year-round.
That is not enough to replace your shopping list, but it is real food, and the cost-per-meal once you account for the small re-up of soil and a few seeds the next year is genuinely low.
Free or near-free additions you can make in week two
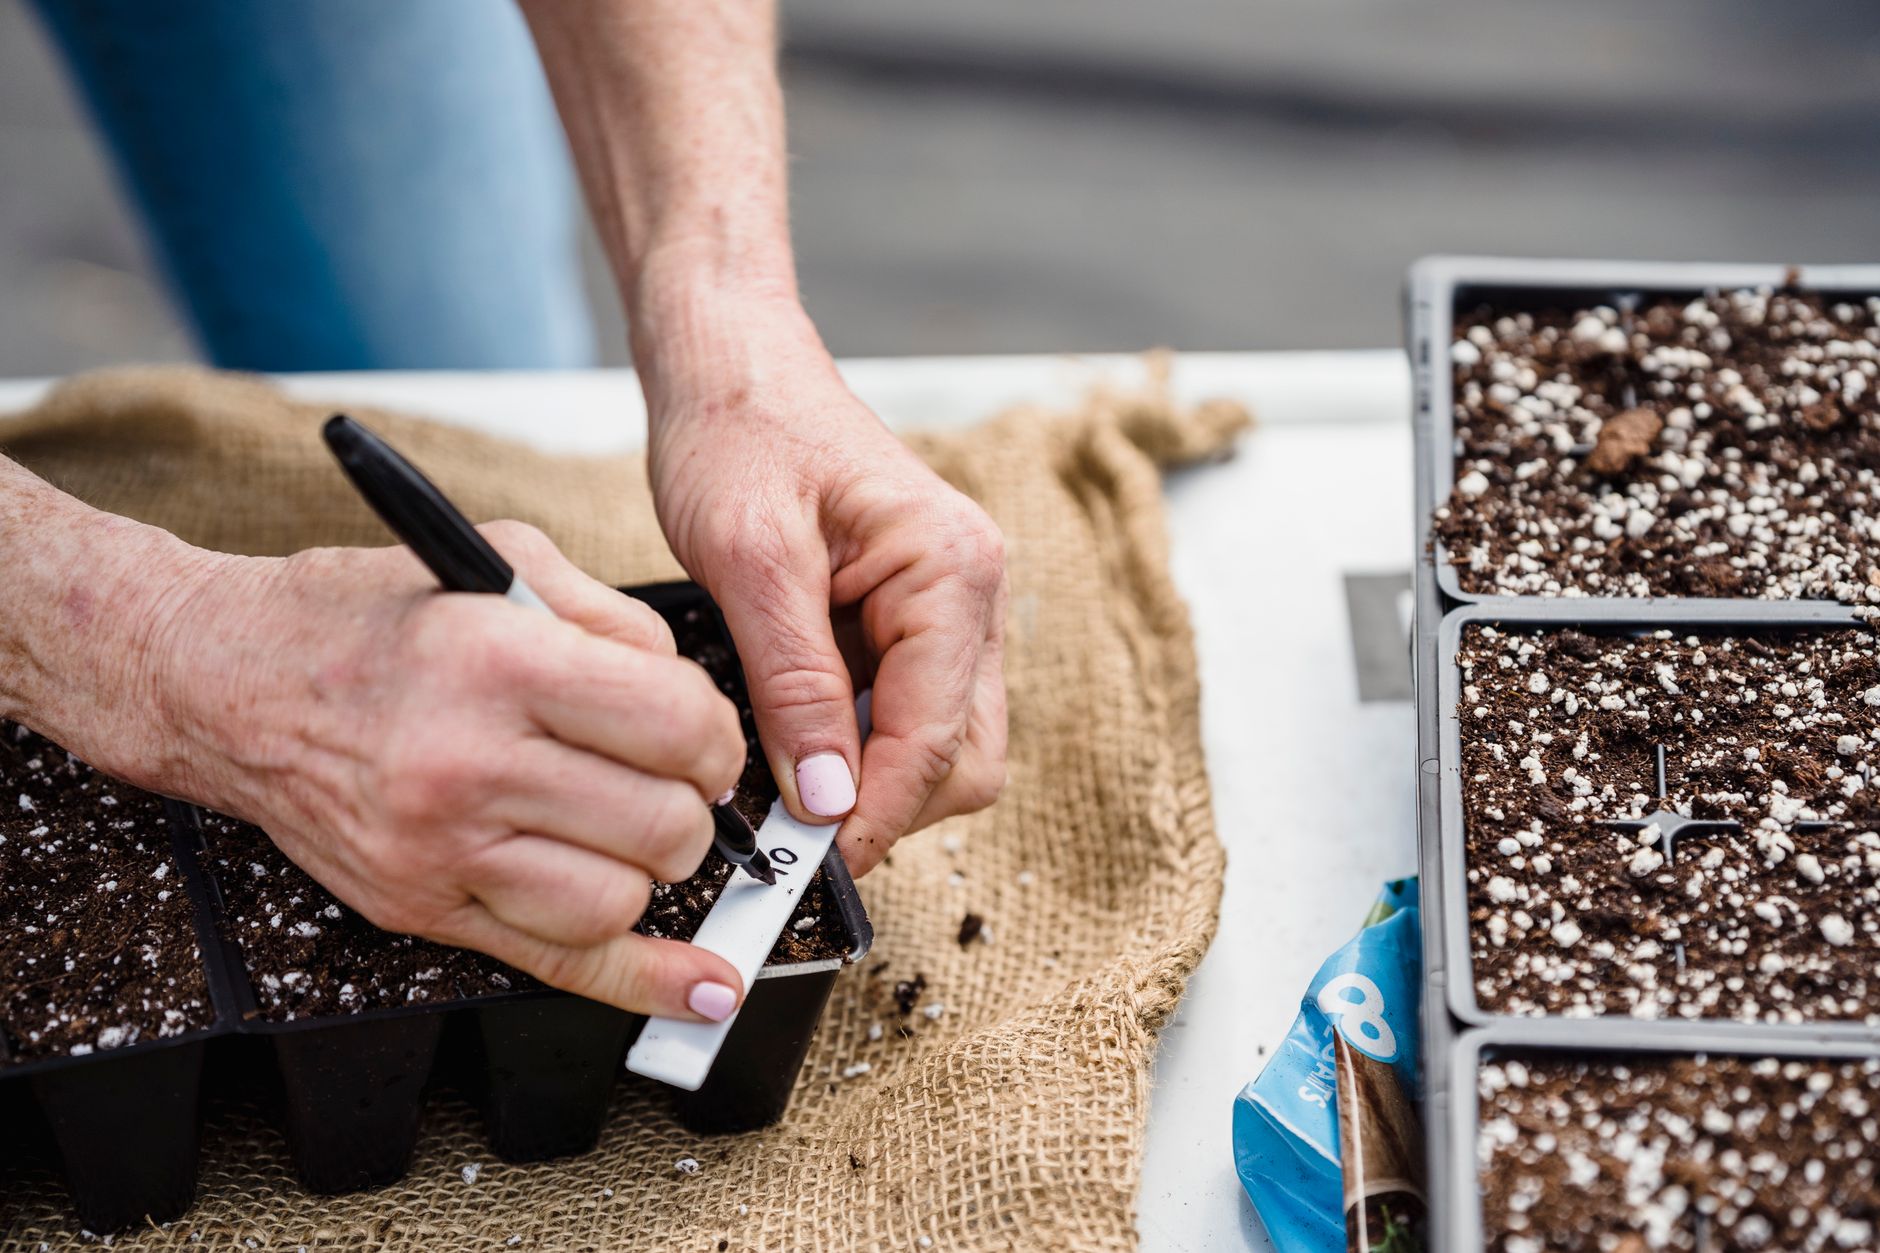
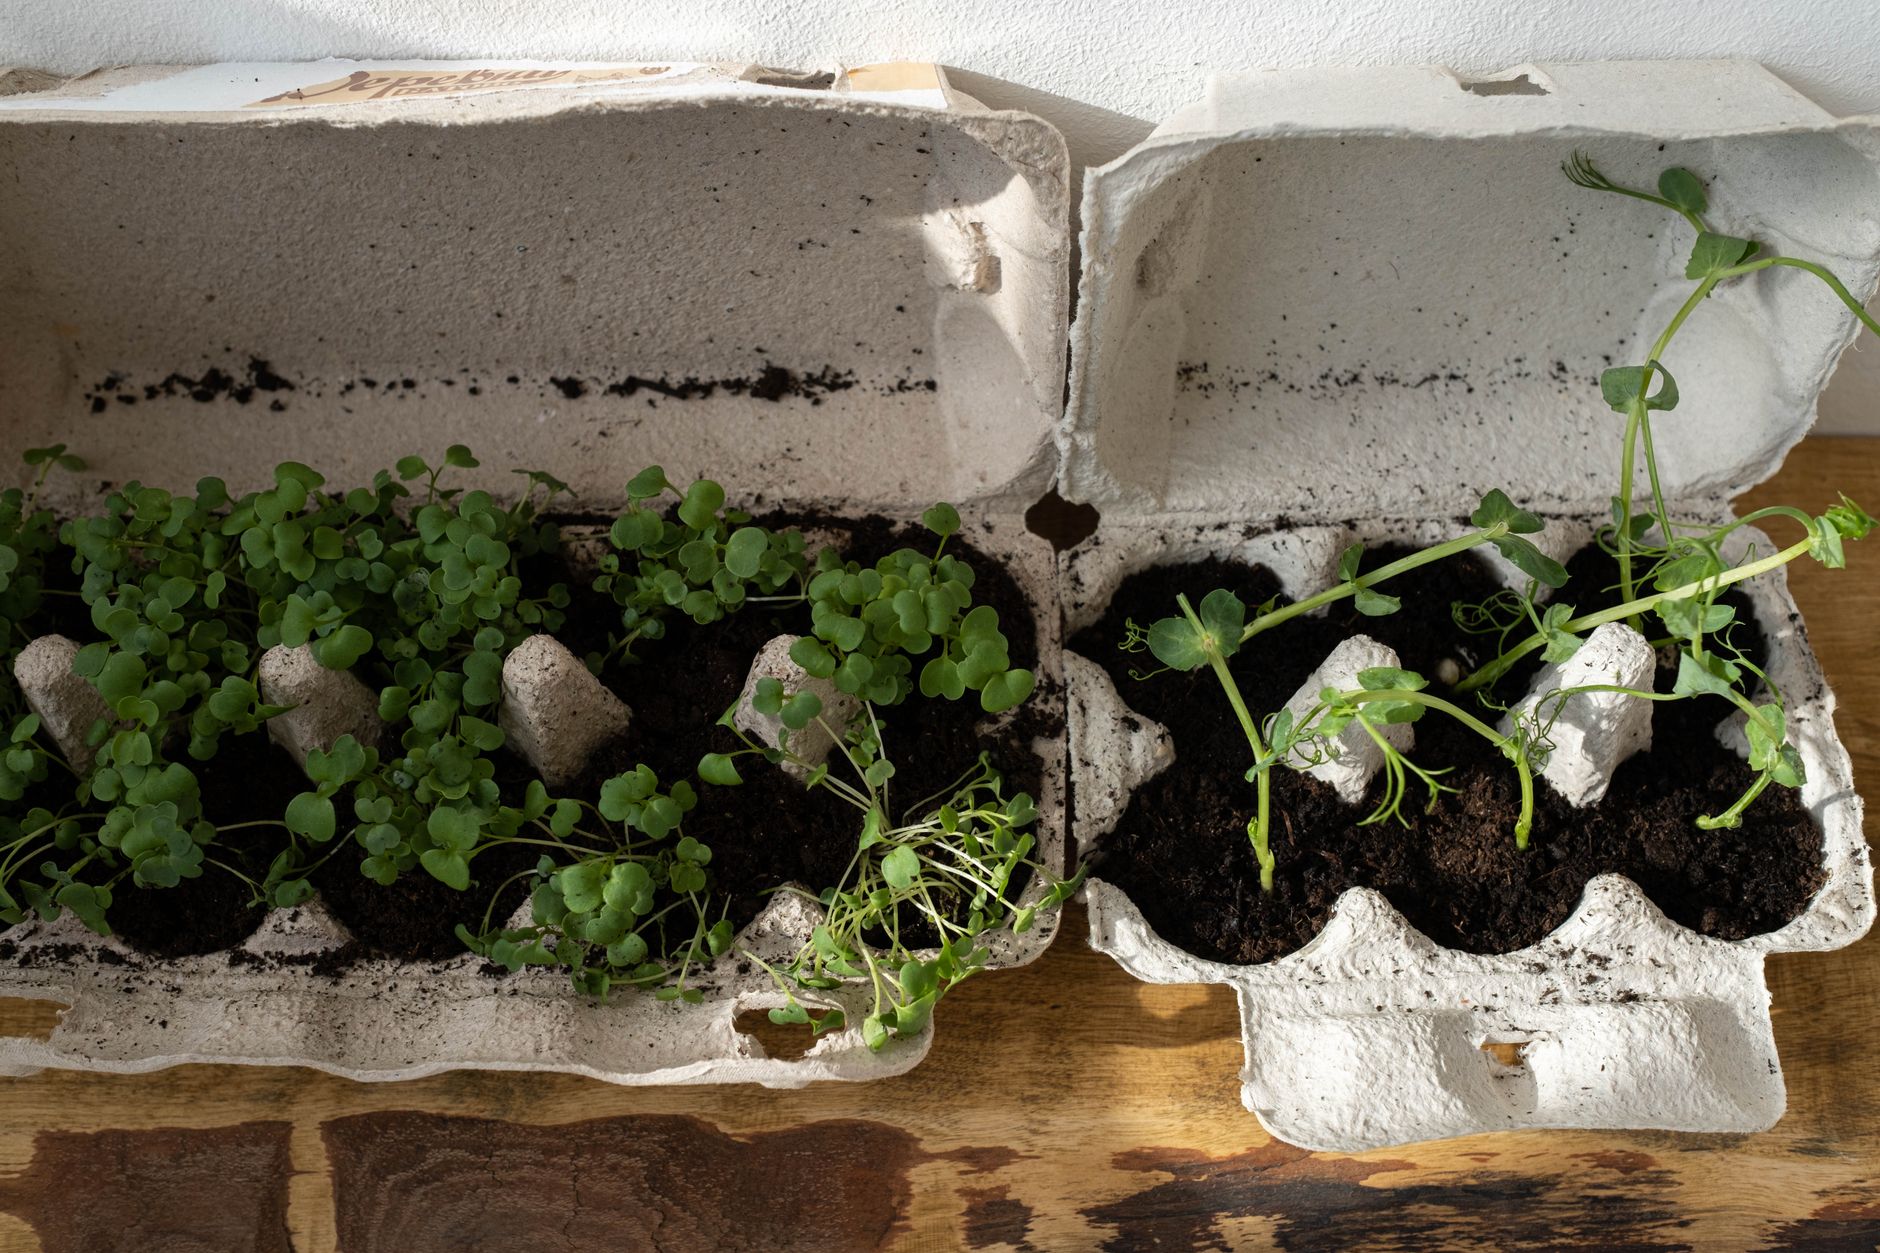
- Save plastic takeout containers as seed-starting trays.
- Use the cardboard from a shipping box as a base layer of weed-suppressing mulch under your pots.
- Collect coffee grounds (yours or from a local café) and add small amounts to leafy greens.
- Save crushed eggshells, dried out, for slow calcium release in tomato pots.
Further reading
Two authoritative resources we recommend if you want to go deeper on this topic:
Frequently asked questions