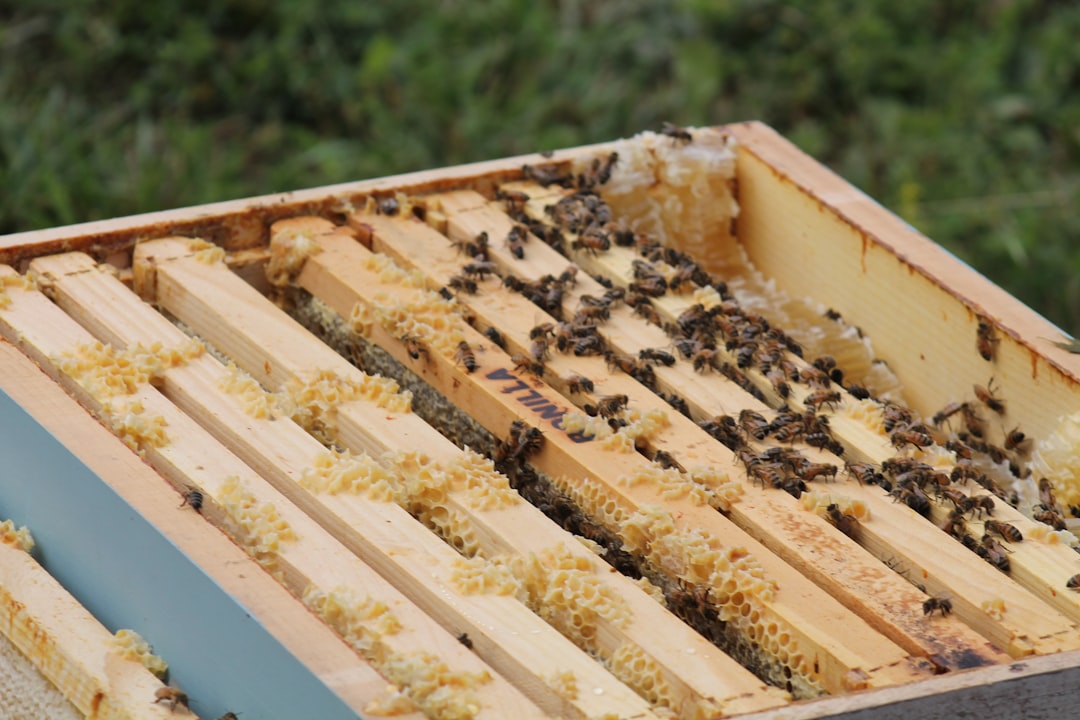
A small honey bee setup in an urban yard is one of those projects that sounds romantic and turns out to be a real, sustained craft. Bees are not chickens. They cannot be checked in five minutes a day, they require equipment and knowledge, and the regulations vary by jurisdiction. The reward is honey, pollination of every garden within a kilometre, and a quiet, mesmerising hobby.
This guide is for the curious person considering their first hive. It does not teach beekeeping. It walks through what you are signing up for.
What an urban hive needs
- A spot with morning sun, afternoon shade ideally.
- Flight path that does not cross neighbour gardens at head height.
- Water source within 100m (bees travel to find it).
- Permission from neighbours and any local regulations.
- Storage space for hive parts (each hive needs around 0.5 m² of storage when not in use).
Time investment
- Spring: hive inspection every 7-10 days, 30-60 minutes each.
- Summer: continued inspections, plus possible honey harvest (a full day).
- Autumn: feeding preparation, varroa mite treatment.
- Winter: minimal physical work, but watching food stores and entrance for issues.
Across a year, roughly 60-100 hours per hive. More in year one as you learn.
Equipment
- A complete hive (top-bar, Langstroth or Warré) with frames.
- Protective suit, gloves, veil.
- Smoker and hive tool.
- Feeder for emergency sugar syrup.
- Storage for honey extraction (centrifuge optional but useful).
Local rules
Vary widely. Some cities prohibit hives outright; others require registration, distance from boundaries, neighbour notification. Always check.
Realistic honey yields
- Year one: usually no harvest. Bees use stores to establish.
- Year two: 5-15 kg of honey from a healthy hive.
- Mature hive: 20-40 kg per year, sometimes more in good seasons.
What can go wrong
- Varroa mites (major management issue, ongoing).
- Hive failure due to disease or queen loss.
- Swarm in spring (the colony naturally splits; can alarm neighbours).
- Wasp predation on weak hives.
- Beekeeping anxiety (yes, it’s real; bees can sting through any setup).
A realistic first-year plan
- Winter: read at least one beekeeping book; ideally take a local course.
- Early spring: visit a local beekeeper to see a hive in person.
- Mid-spring: order a hive and a nucleus colony (5 frames with queen and worker bees).
- Late spring: install the bees.
- Summer: weekly inspections.
- Late summer: assess winter readiness.
- Autumn: treat for mites, ensure food stores.
- Winter: leave alone.
When to skip
- If you have severe allergies to insect stings.
- If your neighbours are strongly opposed.
- If your yard has no realistic placement for a hive away from foot traffic.
- If you cannot commit to consistent year-round attention.
Further reading
Two authoritative resources we recommend if you want to go deeper on this topic:
Frequently asked questions