Peas are one of those crops that convince a first-year container gardener that this whole thing might work. They germinate quickly, they climb something visible within a fortnight, and they produce a first pod that tastes noticeably better than anything the supermarket sells. Once a household eats one home-grown pea, the balcony gardening question is settled.
They are also one of the easier crops to fail with in a container, mostly because everything the seed packet says applies to a garden bed and not to a 25 cm pot on a windy first-floor balcony. This guide is what we would have told ourselves in year one, before we planted forty pea seedlings into a bin that could reasonably support twelve.
Which peas actually work in a container
Three broad types: shelling peas (the classic English pea), snap peas (edible pod, plump), and snow peas (edible pod, flat). All three grow fine in a container. The variable is height. Vining varieties reach 1.8 to 2.4 metres and need a proper trellis. Semi-leafless and dwarf varieties top out around 60 to 80 cm and are the honest answer for most balconies.
Reliable dwarf and semi-dwarf varieties we keep coming back to: Sugar Ann (snap, 60 cm, sixty-day harvest), Half Pint (snap, 45 cm, remarkably productive for its size), Little Marvel (shelling, 45 to 60 cm, forgiving), and Oregon Sugar Pod II (snow, around 75 cm, cold-tolerant). If a seed packet lists height above one metre, plan for a full-height trellis or choose a different variety.
Container size, soil, and drainage
Peas have a modest root system compared to tomatoes or aubergines, but they hate wet feet. Aim for a container at least 25 cm deep and 30 cm wide for six plants. A rectangular window box 60 cm long comfortably holds a row of twelve peas along the front edge with a trellis behind. Terracotta breathes and dries quickly, which peas prefer; plastic is fine if you go easy on the watering.
Fill with a peat-free multi-purpose compost mixed with about 20 percent horticultural grit. Peas fix their own nitrogen through root nodules, so heavy fertiliser is a waste and can push leafy growth at the expense of pods. Skip the tomato feed. A single handful of well-rotted compost mixed into the top few centimetres is plenty.
Support: three low-cost options that actually work
- Twiggy pea sticks: branches pruned from any woody shrub or tree, pushed 15 cm into the container. Peas will climb them naturally without training. Free, historical, and looks charming. Best for dwarf varieties under 60 cm.
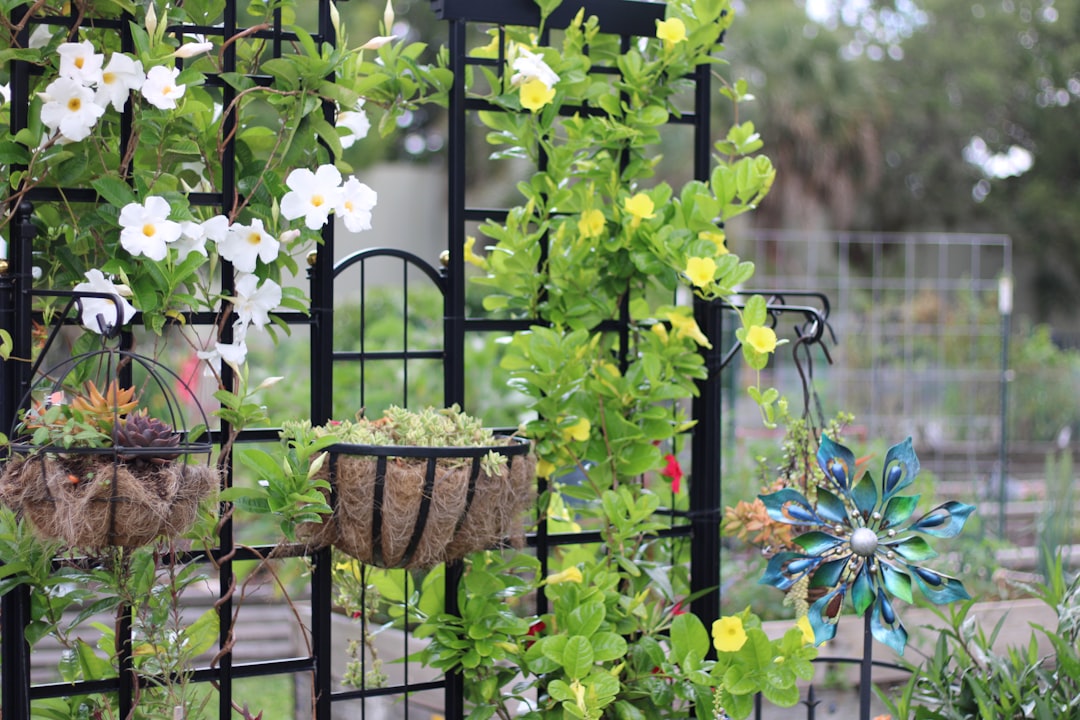
- Bamboo tepee: three or four bamboo canes 1.2 to 1.8 m long tied at the top with garden twine. Wind loose jute or cotton string horizontally at 15 cm intervals for the tendrils to catch. Handles anything up to 1.5 metres.
- Wall-mounted netting: a 1 m by 1.5 m panel of soft pea netting fixed to a balcony wall behind the container. Works well against a sunny south wall where warmth helps and the netting is nearly invisible when the peas are in leaf.
Install the support before you sow. Trying to add a trellis to established peas invariably breaks the delicate first tendrils that were already climbing something else.
Timing: two sowing windows most balconies can use
Peas prefer cool weather. In temperate northern-hemisphere climates, direct-sow in the container as soon as the compost is workable in spring (typically late February to early April, depending on latitude), and again in late July or early August for an autumn crop. Two rounds per year is realistic on a small balcony if you resow into the same pot after the spring crop finishes.
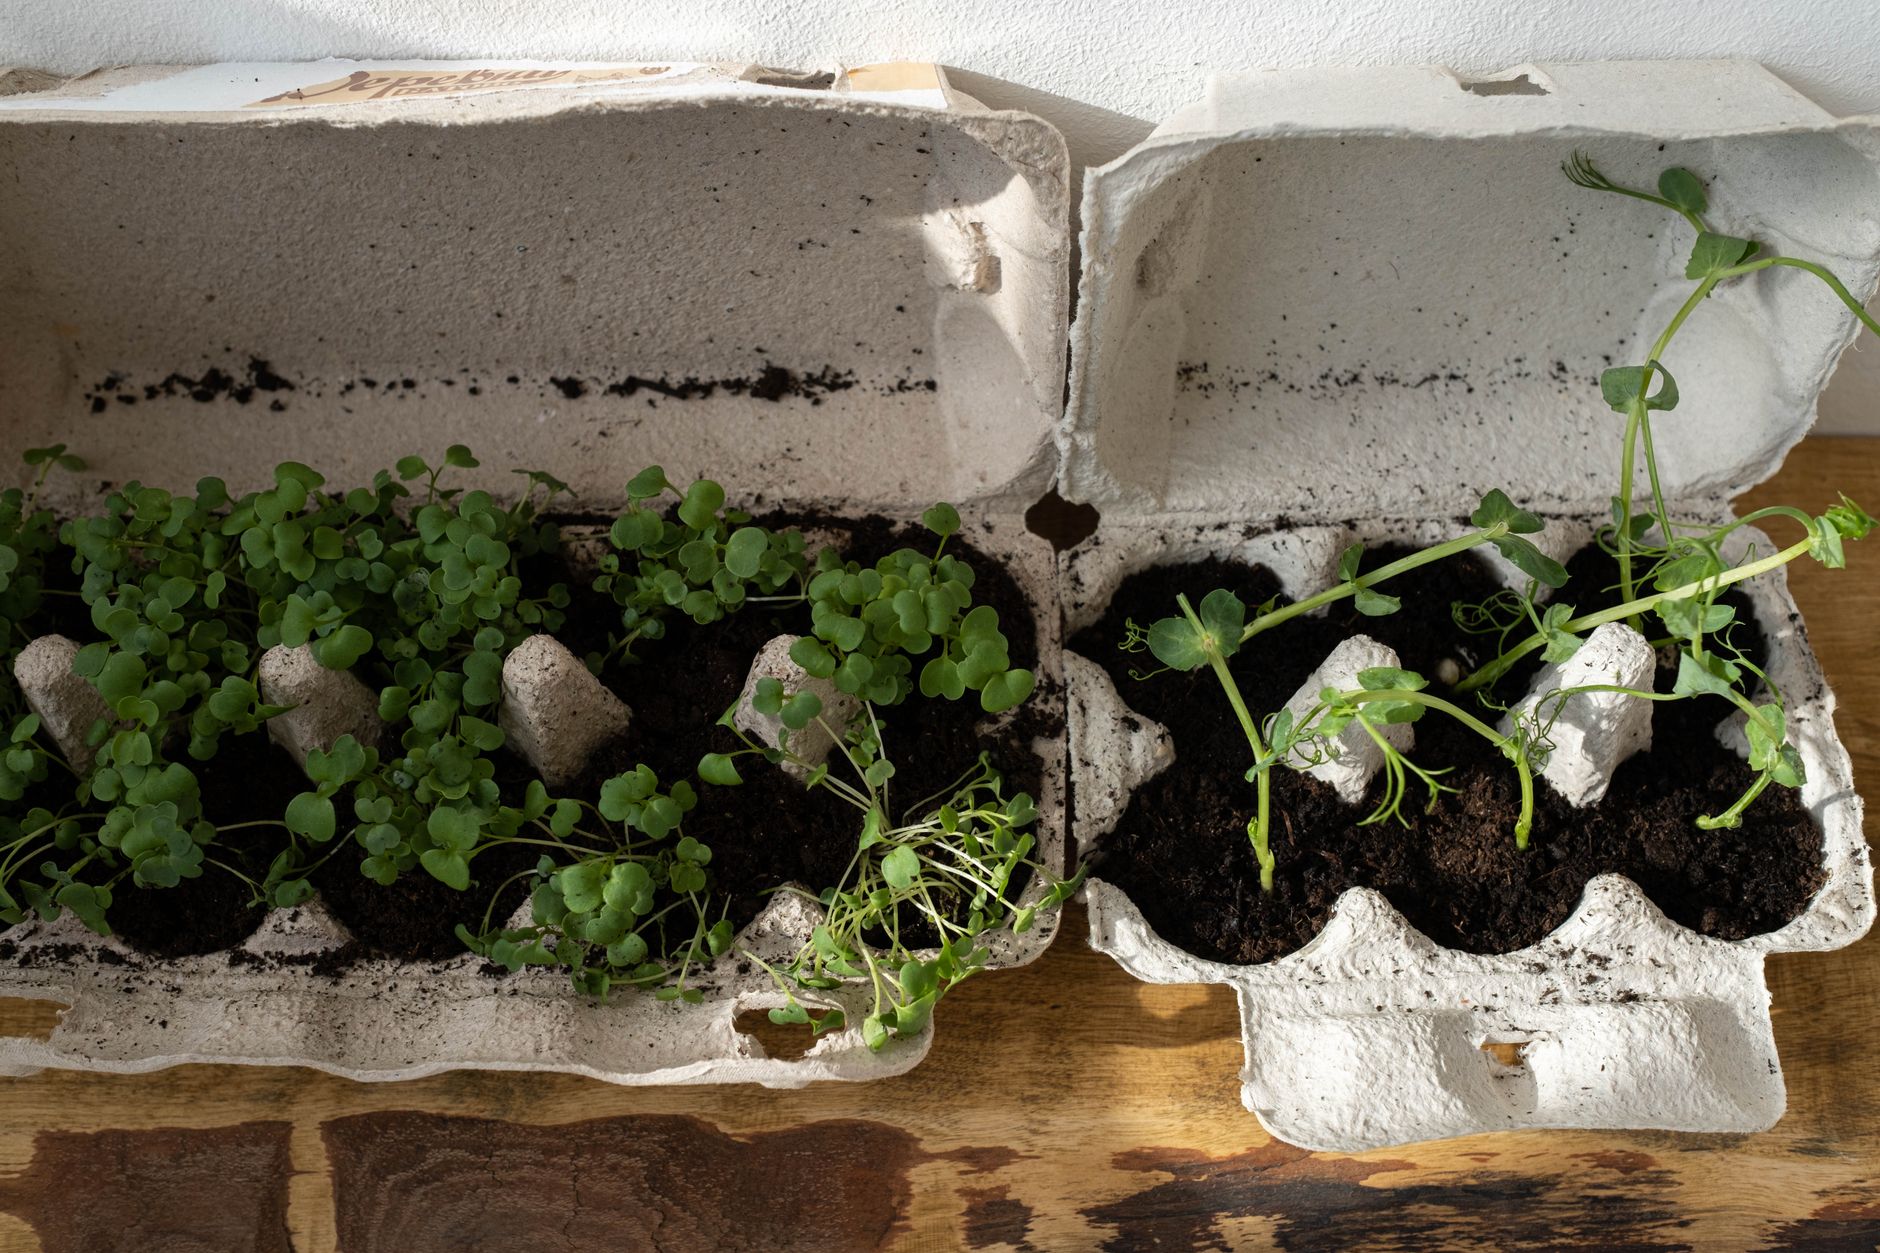
Germination is faster and more reliable if you soak the seeds in room-temperature water overnight before sowing. Push each seed 2 to 3 cm into the compost, space them 5 cm apart along a row, and water gently. Emergence in a warm indoor spot: five to seven days. Emergence outdoors in a cold spring: up to fourteen days. If nothing appears after two weeks, they have almost certainly rotted; resow warmer.
What usually goes wrong in year one
Three failures dominate: sowing too late (peas hate anything above 24 C and stop flowering; a June sowing in southern England produces stressed plants and a poor pod set); watering by habit instead of by check (peas want the top 2 cm dry between waterings, and daily watering rots them); and skipping the trellis until it is too late (see above).
Pests on a balcony are manageable but present. Pigeons will pull emerging seedlings straight out of a container in the first week. A single cloche made from a cut-off two-litre plastic bottle over the row for ten days after emergence solves this. Aphids appear on flower buds in late spring; a firm blast of water every three days keeps the population in check without spray.
Harvest and the fresh-pea test
Start picking as soon as the first pods look plump. Peas convert sugars to starch within hours of picking, so the difference between an eaten-in-the-kitchen pea and a next-day pea is real. A fair test of a variety is to eat one pod raw within a minute of picking. If it is not sweet, either the variety is wrong for you or the pods stayed on the plant too long.
Regular picking prompts more flowers. A plant left to fully mature its pods stops producing new ones within a fortnight. On a container of twelve dwarf peas, a household of two should expect to harvest two or three small handfuls per week for four to five weeks in a good spring. That is enough for a proper pea risotto twice, plus small portions raw. It is not an industrial harvest, and that is honest.
After the crop
When production drops, cut the plants at soil level and leave the roots in place. The nitrogen-fixing nodules on pea roots decompose over the next few weeks and enrich the compost for whatever you plant next. A late-July sowing of bush beans into the same container is the traditional and reliable follow-on. Pea shoots (the tender tips of leaf growth) are edible at any stage and make an excellent stir-fry ingredient during the growing weeks.
Two sowings a year, one modest trellis, and a container that drains: peas are a beginner-friendly crop that returns the effort more visibly than almost anything else you can grow in a small space.
Further reading
Two authoritative resources we recommend if you want to go deeper on this topic:
Frequently asked questions