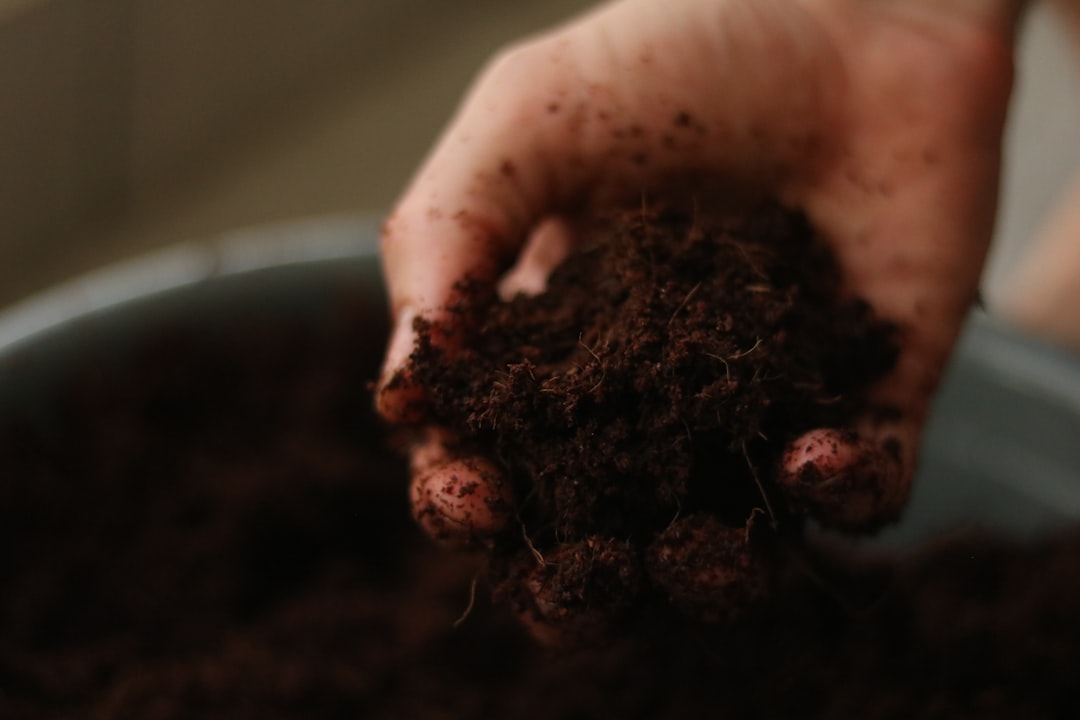
Indoor worm bins are one of the genuine wonders of small-space composting. A discreet bin in a kitchen cupboard or under a sink converts your daily kitchen scraps into rich, dark vermicompost and nutrient-rich worm tea, with no smell, no mess, and a workforce of red wiggler worms who genuinely enjoy the job.
This guide walks through setting up and running a worm bin in an apartment, with the honest expectations and the small troubleshooting we have learned.
How worm bins work
Red wiggler worms (Eisenia fetida) eat decomposing organic matter. They process roughly half their body weight in food a day. A small bin with 500 g of worms handles the kitchen scraps of a two-person household.
The bin
- Stacked-tray commercial bin: Worm Factory, Hungry Bin, similar. $80-$200. Easy to manage, separates finished compost.
- DIY plastic-tote bin: Two plastic storage bins, drilled with holes for ventilation and drainage. $25-$40.
- Wooden bin: Beautiful but requires more care to manage moisture.
Setting it up
- Layer shredded newspaper or cardboard 8-10 cm deep, slightly moistened.
- Add a few handfuls of soil or finished compost.
- Tip in 500-1000 g of red wigglers (mail-order or local gardening shop).
- Cover with another layer of damp shredded paper.
- Leave undisturbed for a week before feeding.
Feeding
- Vegetable peelings (in moderation).
- Fruit (except citrus).
- Coffee grounds and filters.
- Tea leaves.
- Crushed eggshells.
- Small amounts of bread, pasta, rice.
Avoid:
- Meat, fish, dairy.
- Oils and fats.
- Citrus fruits and onion skins in quantity.
- Salty foods.
- Anything thick that won’t break down quickly.
Smell and pest concerns
A well-managed worm bin smells like fresh earth. If yours smells sour or sweet, you are overfeeding. Stop adding food for a week.
Fruit flies appear if scraps sit on the surface. Bury food under bedding and cover with damp newspaper.
Harvesting
After 3-4 months, the bottom of the bin contains rich dark vermicompost. Methods to harvest:
- Stacked-tray bin: empty the bottom tray, refill with bedding, place on top.
- Single-bin: push contents to one side, add fresh bedding and food to the other side. Worms migrate; collect the empty side.
- Light method: dump the bin onto a tarp under bright light. Worms burrow down; scoop off the top layer of compost.
How to use vermicompost
- Top dressing for houseplants (2 cm layer twice a year).
- Mixing into potting soil at 10-20% by volume.
- Side-dressing for outdoor vegetables.
- Worm tea (drainage liquid) diluted 1:10 as plant feed.
Further reading
Two authoritative resources we recommend if you want to go deeper on this topic:
Frequently asked questions