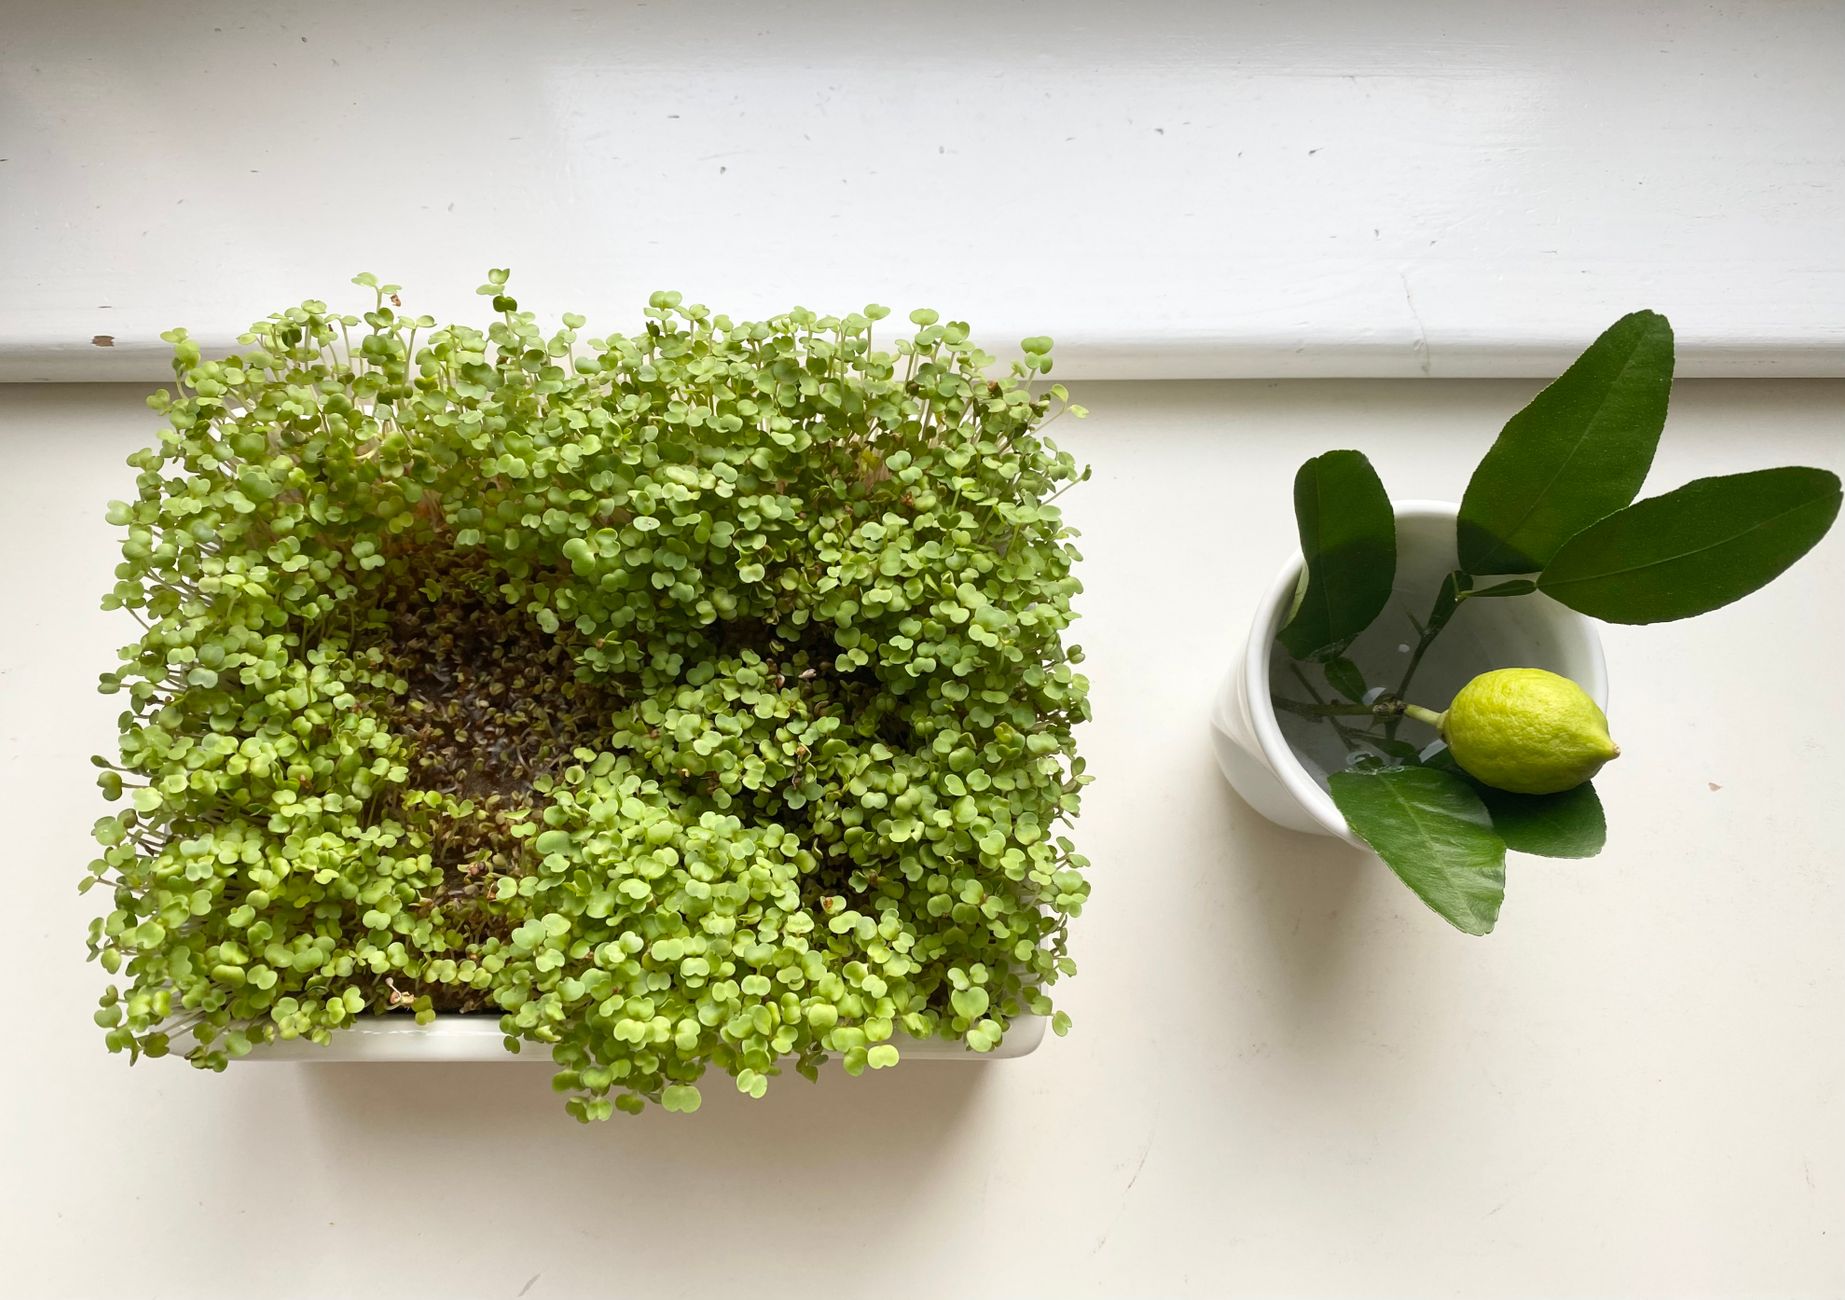
Microgreens are the most reliable indoor crop we know. A flat tray, a thin layer of soil, a handful of seeds, and seven to ten days later you have a kitchen-counter harvest that adds genuine flavour to meals and looks unreasonably good in a photo. They are the gateway crop for any indoor growing.
This guide walks through the setup, the seeds we use most, and the small mistakes that keep beginners from getting it right.
The basic kit
- Two shallow trays (one with drainage holes, one without to catch water).
- A bag of fine seed-starting mix or coir.
- Microgreen seeds (broccoli, radish, kale, mustard, sunflower).
- A spray bottle.
- A bright, indirect-light window or a small LED grow light.
Total cost to start, roughly $20.
A clear ten-day workflow
- Day 1: Fill the drainage tray with 2-3 cm of damp seed mix. Press flat. Scatter seeds densely (more than feels right). Press in. Spray with water. Cover with the second tray inverted, or a dark cloth.
- Day 2-4: Spray once or twice daily under the dark cover. Seeds will swell and sprout.
- Day 5: Remove the cover. Move to bright indirect light or under a grow light. Sprouts will be pale; they green up within 24 hours.
- Day 6-9: Continue spraying lightly once or twice a day. Watch the second leaves emerge.
- Day 10: Harvest with sharp scissors, cutting just above the soil line. Wash, dry, eat.
Seed choices
Easy first crops
Broccoli, radish, mustard, arugula, kale. All germinate quickly, taste mildly peppery or bright, and rarely fail.
Pretty but slightly trickier
Sunflower, pea, basil, beet. Take a few days longer, occasionally rot if too wet.
Skip on first attempt
Cilantro (slow), chia (gel coating tricky), or anything labelled as a specialty mix unless you have a clear use in mind.
Common mistakes
- Soil too wet: drowns seeds and causes mould.
- Soil too dry: poor germination.
- Removing the dark cover too early: weak sprouts.
- Sowing too thinly: bare patches; sow densely.
- Sowing too thickly: matted growth and mould; balance is needed.
Light and air
After uncovering, microgreens need bright but indirect light. A south-facing window works in summer. In winter, a small LED grow light directly above the tray transforms results.
A gentle breeze (a small fan on low or a partially open window) reduces mould risk significantly.
Why microgreens are worth the counter space
- Fast cycle: 10 days from sow to plate.
- Reliable: even in winter with proper light.
- Nutrient-dense: many studies show higher concentrations of vitamins and minerals than full-grown plants.
- Cheap: $1 of seed produces $8-$12 of supermarket-grade greens.
- Photogenic: hard to make them look bad.
Further reading
Two authoritative resources we recommend if you want to go deeper on this topic:
Frequently asked questions